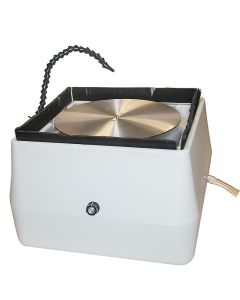
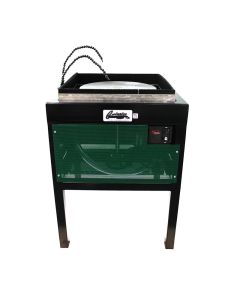
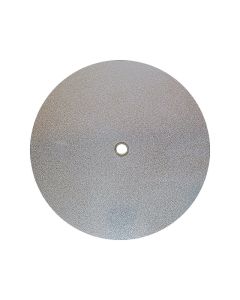
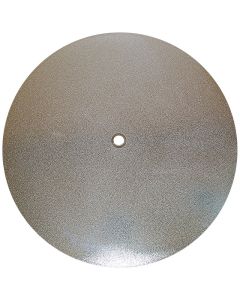
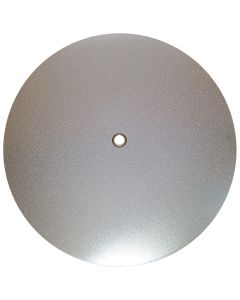
Grinding Glass from Rough Grind to Final Polish
Make Your Best Start
If you've read through our Learn Section on the best disks for your type of glass, you'll know that picking the right starting point with your diamond disk is as important a step as you can make.
Starting too rough will make more work for you and possibly damage your glass. Starting too fine will wear your disks down prematurely and lead to higher replacement costs and loss of efficiency.
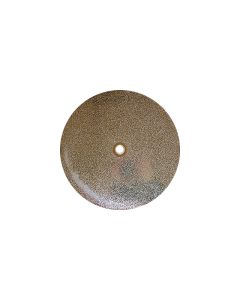
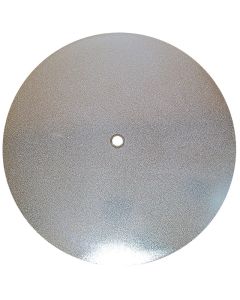
With surfaces larger than 3 inches, we recommend starting with 60 grit as long as your surfaces don't require too much removal. For larger removal, we suggest stepping back to a 45-grit or using a wet saw to remove material before grinding. For smaller surface areas below 3 inches, a 60 grit often works well for material removal without requiring a move down to a 45 grit.

Don't Jump Too Far Ahead
With larger surface areas, you may be tempted to skip steps to shorten your workload. While this may work in the short term, you'll eventually end up wearing out your finer grits disks prematurely and replacing them more often.
For larger surface areas, move to a mid-grade disk like a 100 or 140 grit to slowly grind down your surface and get it prepped for polish. It may be more steps, but it will be more efficient and move faster in the long run when all your disks wear evenly.
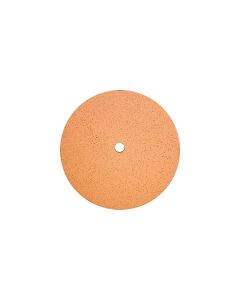
For smaller surface areas, you can easily move from a rougher grit like 60 or 80 directly to a finer grit like 200, 270, or even 325 grit in the electroplated disks.
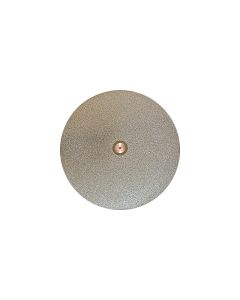
Fine is Really Not Fine Enough
We have a lot of customers who want to finish off their pieces at a 270 grit or 325 grit (or even a 500 grit) electroplated disk and then move to a polish.
Unfortunately, an electroplated diamond disk in a fine grit will still leave a surface on the glass that is too rough to adequately polish from. They are a perfect step before a pre-polish step with a resin-bonded Smoothing Pad, though.
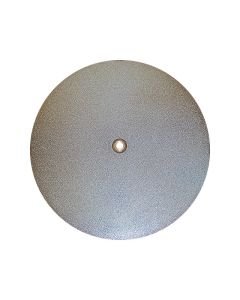
These fine-grit disks are perfect for moving the glass surface down to a point where a resin diamond disk will easily give you a pre-polish finish. For smaller surfaces, you can sometimes move directly from mid-grade disks like 100, 140, or even 200 grit directly to a smoothing pad in a 100, 220, or 325 grit; but larger surface areas will still need a fine grit diamond surface before moving to a resin pad.
Smooth, Like Butter
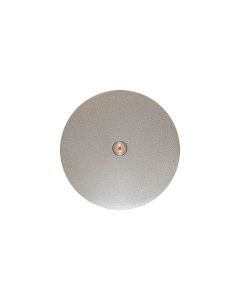
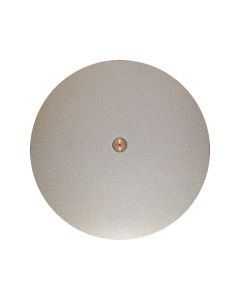
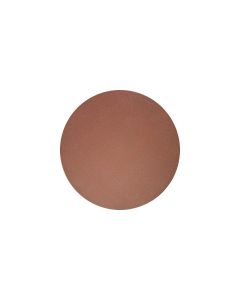
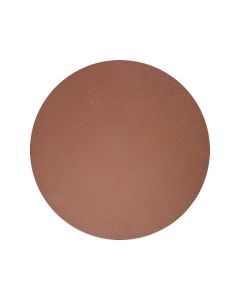
One of the greatest diamond pads in your repertoire will be the resin diamond Smoothing Pads. These are the pads that will give your glass the pre-polish finish you need to move your surface to a clear glass polish.
The most common grit used will be the 325 grit as it works for almost every surface to achieve a fantastic pre-polish finish. For larger surfaces, you may want to also use a 220-grit Smoothing Pad before your 325-grit Smoothing Pad to make sure you have removed all the deeper scratches from multiple steps. It's a quick, easy way to clean up your surfaces with only one extra step.
For more controlled surface or lapidary work, you can move into finer grits like 600 and 1200 grit in the resin diamond pads, but the 325 grit is generally the best stopping point in the Smoothing Pads for a great pre-polish finish.

Final Clarity
Your last stage will be polishing.
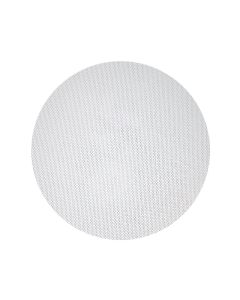
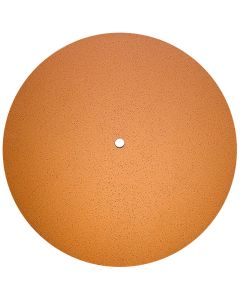
Mechanical polishing is achieved with a cerium oxide slurry on a carrier like a Synthetic Felt or LP66 pad. These pads will not polish on their own, but use a slurry of cerium oxide to polish your glass.
The cerium is both a chemical and physical reaction with the glass, so you need some friction between the cerium and the glass to polish it. Polishing is not a fast step; it will probably take you as long on the polishing stage as it took you to grind your piece from rough grind to the Smoothing Pad pre-polish stage.
Be patient, and you'll be rewarded with a great-looking piece of glass.


Login and Registration Form