Making a Drinking Glass From a Wine Bottle
Good Beginning Make for Efficient Work
As you start to make drinking glasses, candle holders, carafes, and other items from wine, beer, and liquor bottles, you need to remember that one of the most important steps in the process is the initial cut or break on the bottle.
If your initial cut is full of deep chips or large chunks that have broken out of the bottle from the cut. You will spend an inordinately longer amount of time on the grinding process, which will wear down your disks prematurely and cause the whole process to be inefficient. With cutting and grinding wine bottles, the biggest target is efficiency.
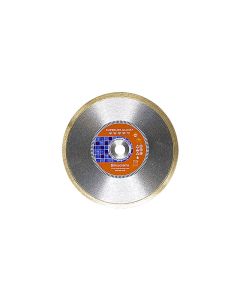
The faster and more consistent you can make the glasses, the more income you can receive from them. We recommend using the Husqvarna Superlok Glass+ blades for the initial cut on your bottles. They are fine-grit diamond blades specifically for cutting glass material with little to no edge chipping involved.
All About the Level and the Chips
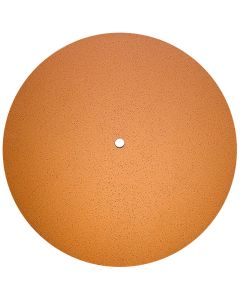
The first step on a flat lap grinder with an electroplated diamond disk is all about removing all the chips from the edge of the bottle rim and ensuring your bottle is level. If you've done a good job on your initial cut on your bottle, then keeping it level shouldn't be too difficult.
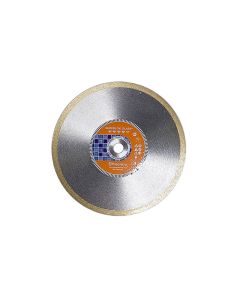
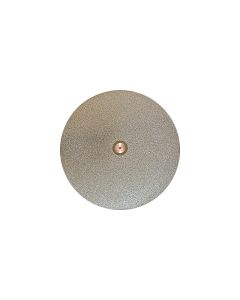
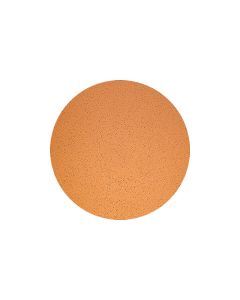
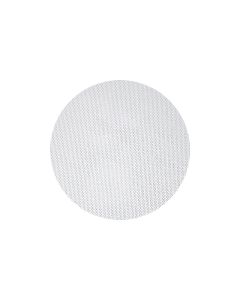
A 140-grit disk is an excellent choice for removing glass efficiently from the cut bottle without introducing new chips into the rim. It's an excellent choice for the initial grind, and coupled with the 12-inch Covington Grinder, it makes short work of the first step of making a drinking glass or candle holder.

Take It Down a Little More
Grinding bottle rims is about the process and the stages.
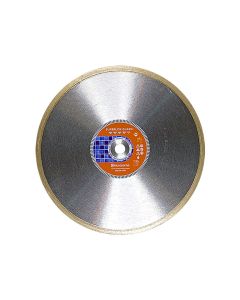
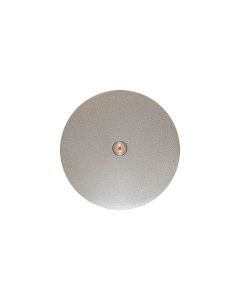
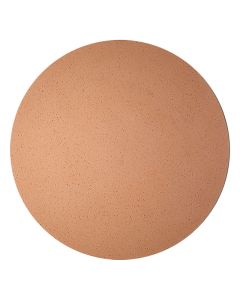
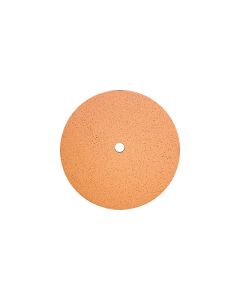
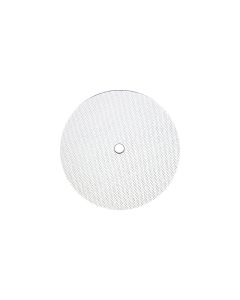
You won't be able to move from a saw cut or break directly to a polish. It needs to go in stages to get the rim down to a finer and finer surface that you can then polish from. To do that, you move from a rougher grit 140 grit disk to a finer grit 270 grit disk.
This will give a finer surface on the rim of the glass. You still won't be able to polish from this stage, but having a finer grit step will keep all your disks wearing evenly and consistently.
Make it Soft on Your Lips
Once you have ground down the rim on a glass, the edge will no longer be able to cut you. It may feel very sharp as you grind it further down, but it's no longer broken or cut glass, and it won't cut it. That doesn't mean it won't feel odd on your finger and especially on your lips if you try to drink out of it.
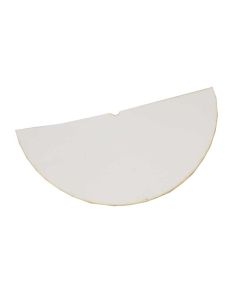
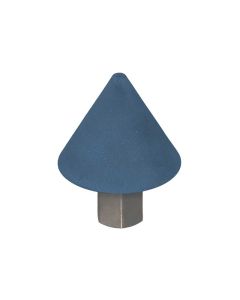
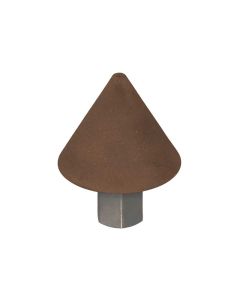
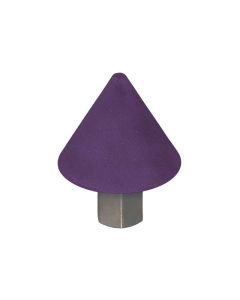
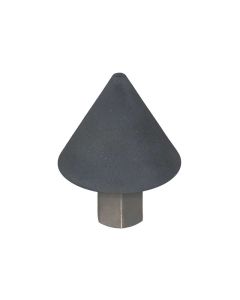
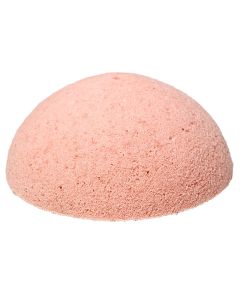
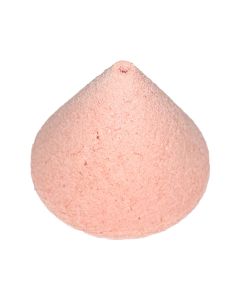
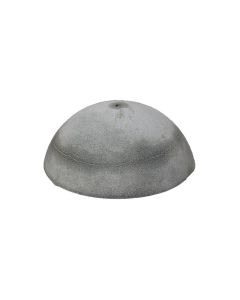
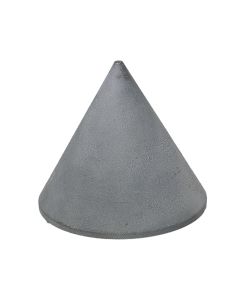
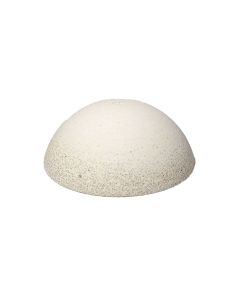
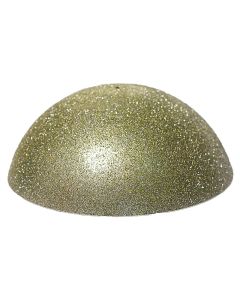
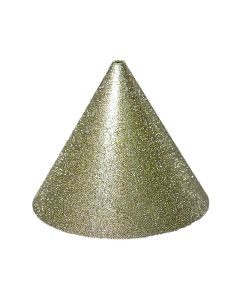
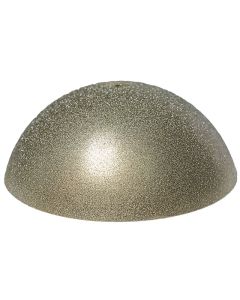
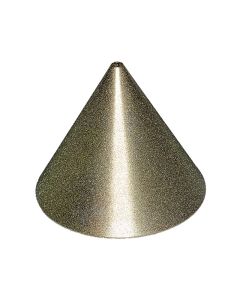
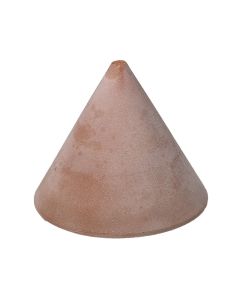
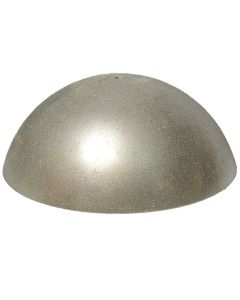
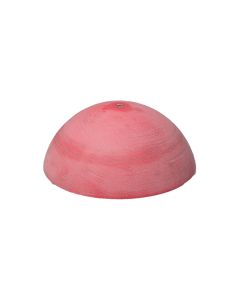
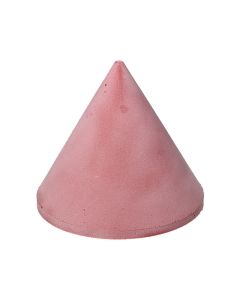
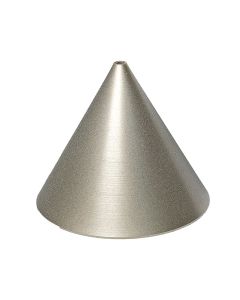
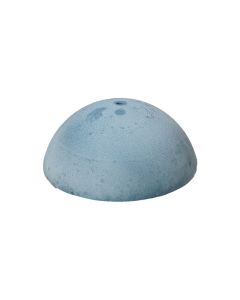
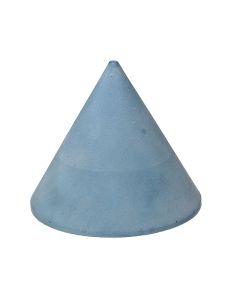
For drinking glasses, you'll need to make a small interior and exterior bevel on your glass so it feels more comfortable on your lips when you drink out of it. We offer two methods for creating this bevel: our resin diamond smoothing domes, and our resin diamond smoothing cones.
These fit easily onto the center of the Covington grinder and allow a quick creation of the interior bevel on the glass.


A Velvety Sheen
The next stage in creating your drinking glass is the pre-polish stage.
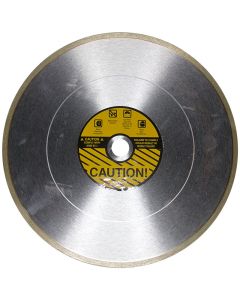
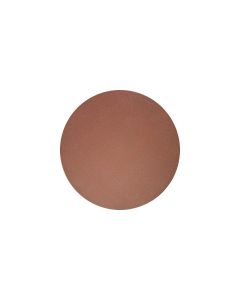
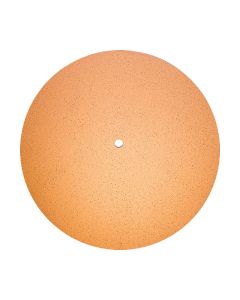
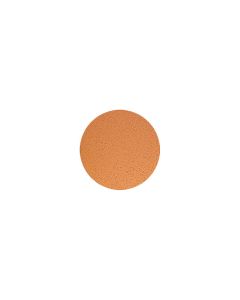
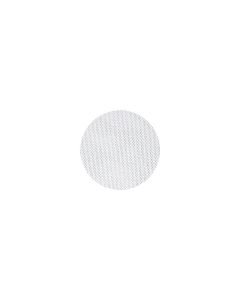
This prepares the glass surface to be polished back to clear glass again. The 325 grit resin diamond smoothing pad leaves a fantastic surface on the glass that will give an almost velvety sheen to the rim once the disk has broken in some.
This is an excellent surface for moving to a cerium-based polish on your glass, but you can also leave the rim at this surface for pieces like candle holders to allow a glow along the rim of the glass when the candle is lit. The resin diamond smoothing pad also creates the exterior bevel on your drinking glass.
Clear as a Bell
The final step on your drinking glass is to move your rim back to a clear glass finish or a full polish.
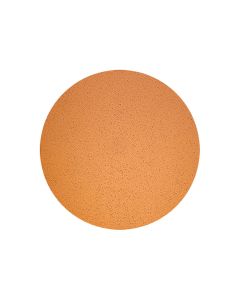
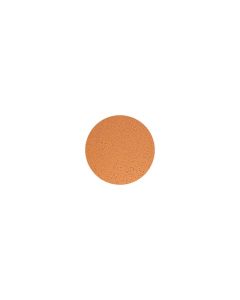
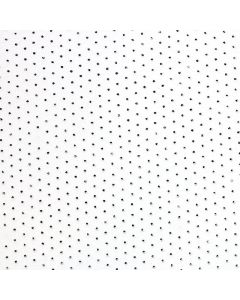
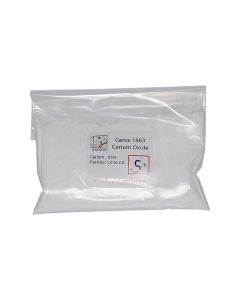
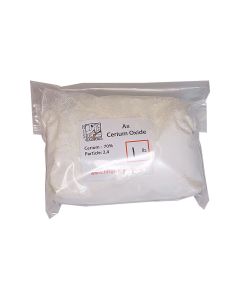
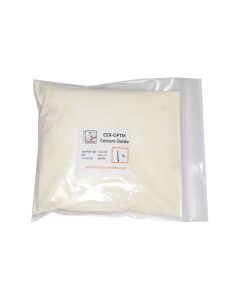
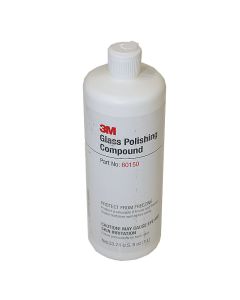
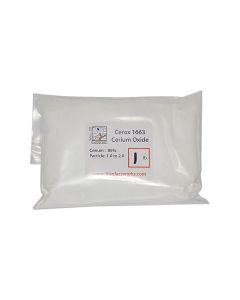
Polishing glass is accomplished with cerium oxide and a polishing media like Synthetic Felt or LP66. The cerium is a powdered rare earth material that physically reacts with the glass as a mild abrasive and chemically reacts with the glass to accomplish the polish.
It's mixed with water to create a slurry that is then applied to your polishing pad to polish the glass. This brings your surface back to a clear glass finish and gives it a high-quality appearance


Fit and Finish
While you don't necessarily need to thoroughly polish the interior and exterior bevels on your drinking glass, aesthetically, it may be the final quality finish that you want on your pieces.
While it does add another step to the process, it can be rewarding when your pieces have that fully finished quality and you can command a higher price point for them.
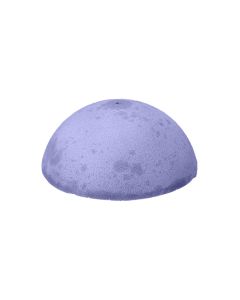
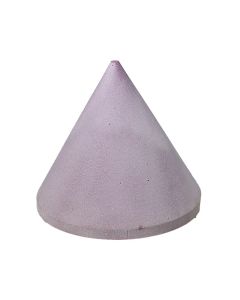
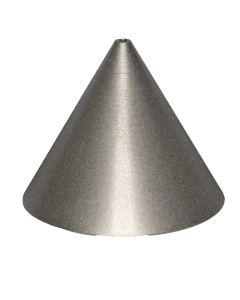
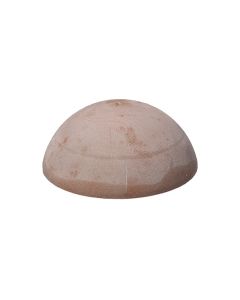
Our polishing Domes and Cones allow you to use cerium oxide in a thicker paste form to achieve a final polish on the interior bevel of your glass.
Login and Registration Form